XL – Calix GUI Overview
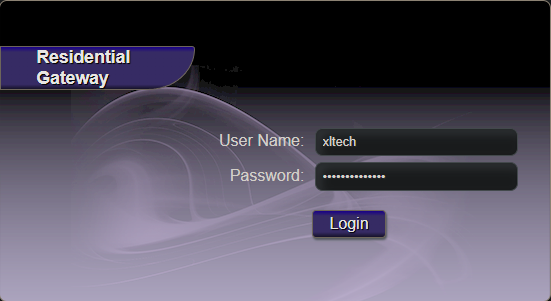
Login
Getting to a login screen on a Calix router can vary depending on configuration and firmware version.
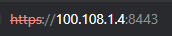

The majority will be accessible via https accompanied with port 8443. For some running older configurations, you will need to use http accompanied with port 8080.
Some potential logins would be:
xltech / mkvsdcauisbest
support / support
If a customer needs access to configure their own settings they should use the provided local login. This can be found on a label located under the stand the router sits on.

Status
Connection
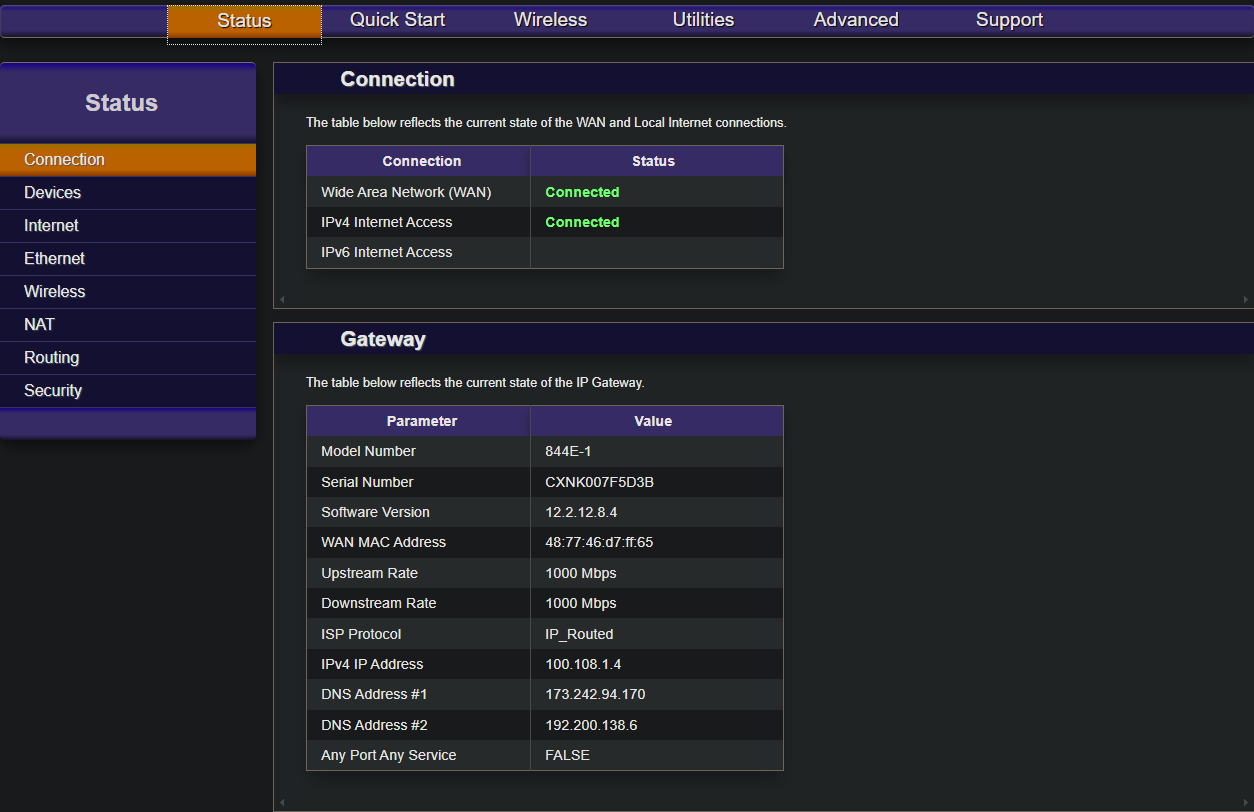
This is the main “Connection” tab of a Calix routers “Status” page. Here you can get a brief overview of what’s going on in the router. The main thing to check on this page would be the Software Version (12.2.12.8.4).
Devices
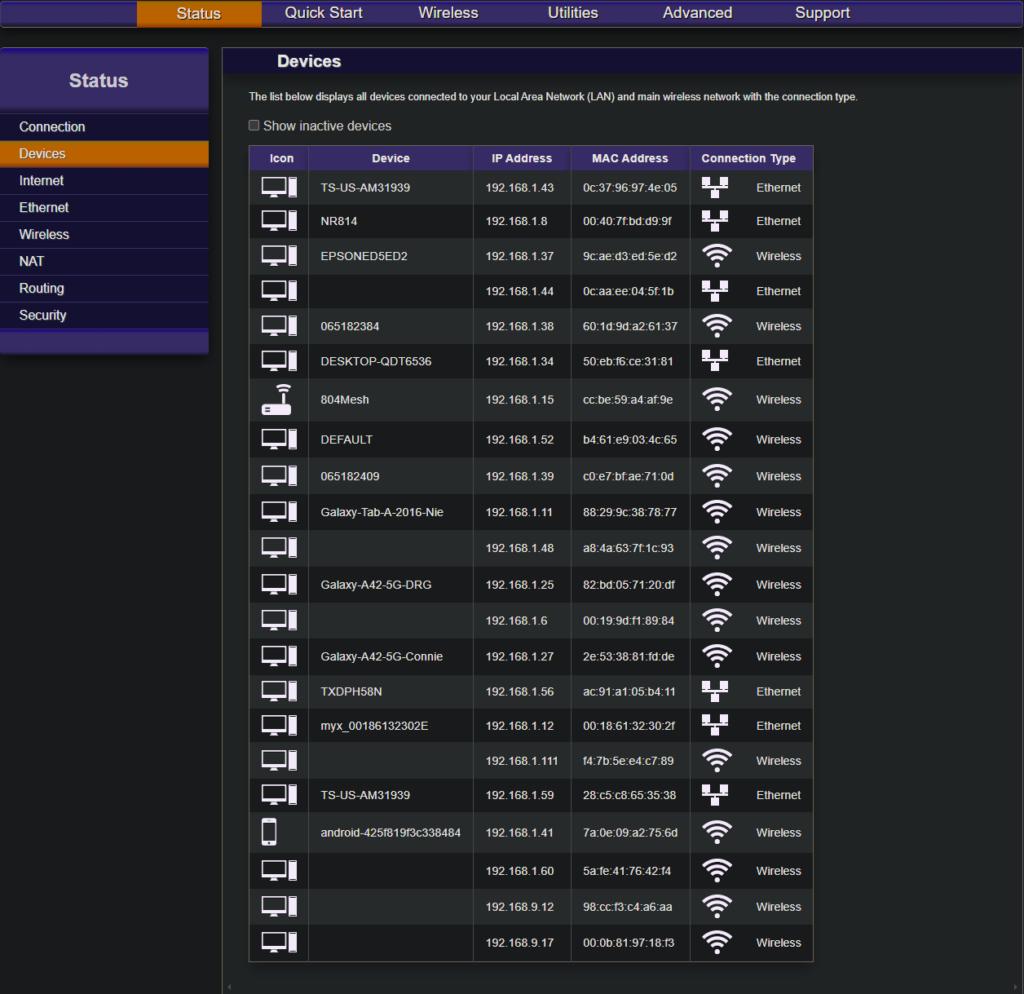
This is the “Devices” section of the “Status” page. Here you will get a list of connected devices and their method of connecting.
Internet
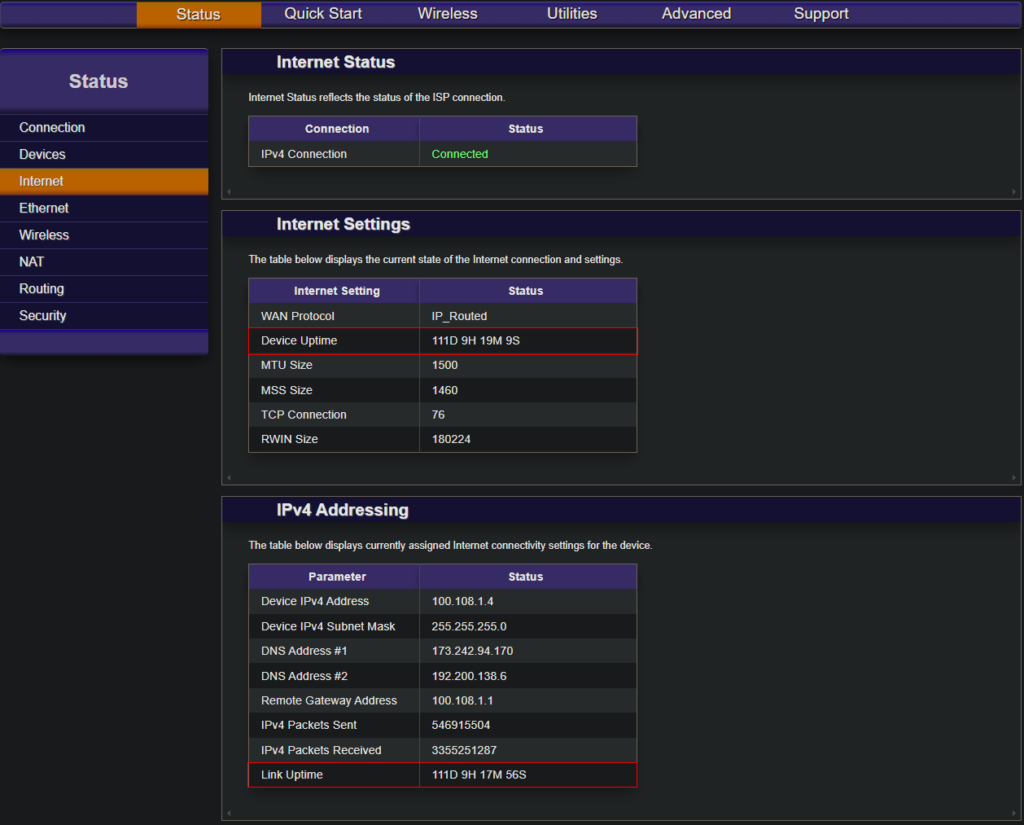
This is the “Internet” section of the “Status” page. Here is where you can find the device uptime. You can also cross check the IPv4 uptime against the device uptime to check for potential cable issues.
Ethernet

This is the “Ethernet” section of the “Status” page. Here is where you would check the LAN speed of a connected device. For our example this router only has two devices connected via ethernet to its LAN. If you recall the example from the “Devices” section it showed seven devices connected via ethernet. This would point to the customer having a secondary router or switch.
Wireless
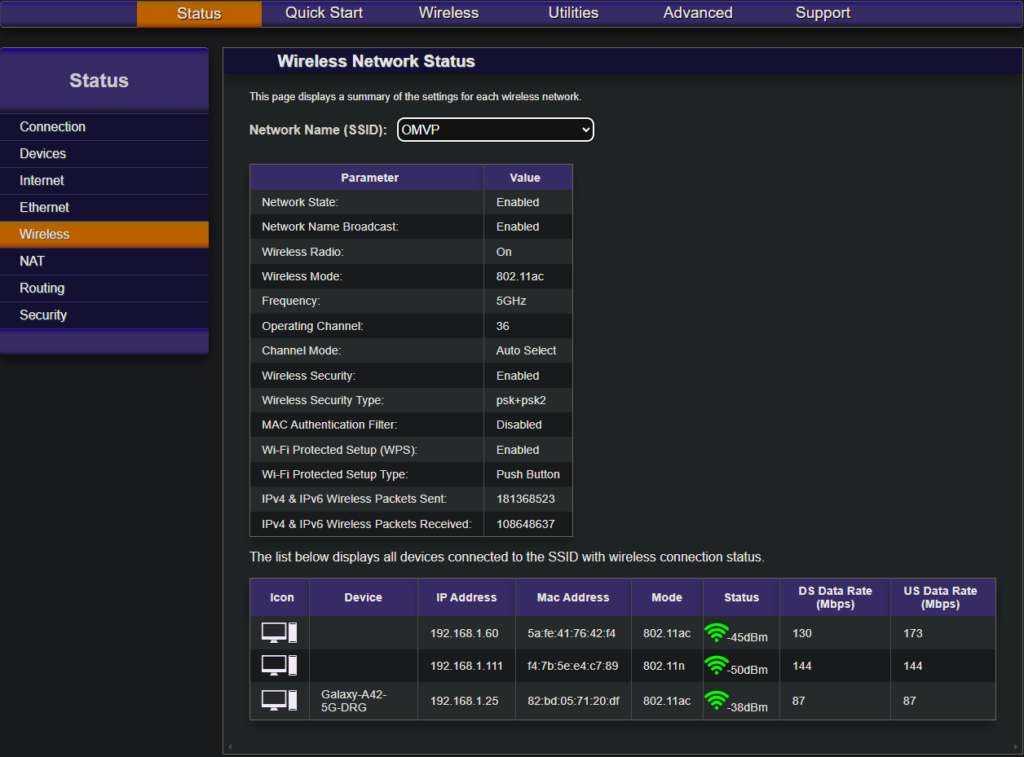
This is the “Wireless” section of the “Status” page. Here you can check the status of different wireless networks and the devices connected to them.
Wifi Configuration

This is the “Wireless” configuration page. Here you can change wireless settings. Under the “Radio Setup” section you can change which channel and its width. This will only ever need to be increased from 20mhz if a customer is on a speed plan above 75mbps and is unable to pull their speeds.
SSID Setup
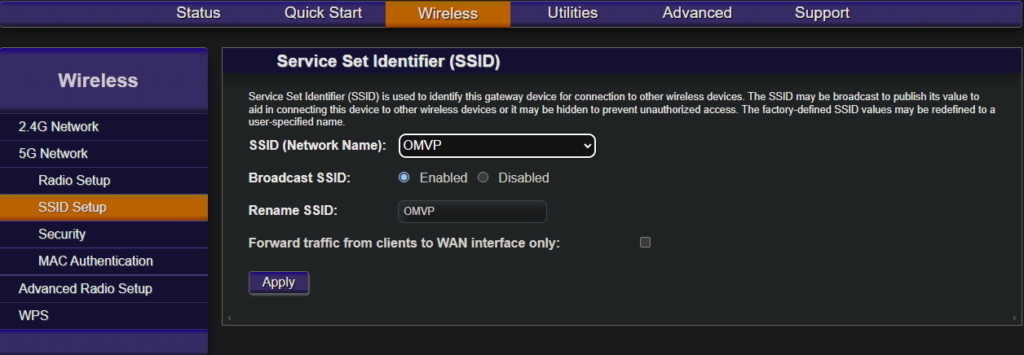
In the “Wireless” configuration page you can edit the wifi’s broadcast SSID in the “SSID Setup” section.
Wifi Password
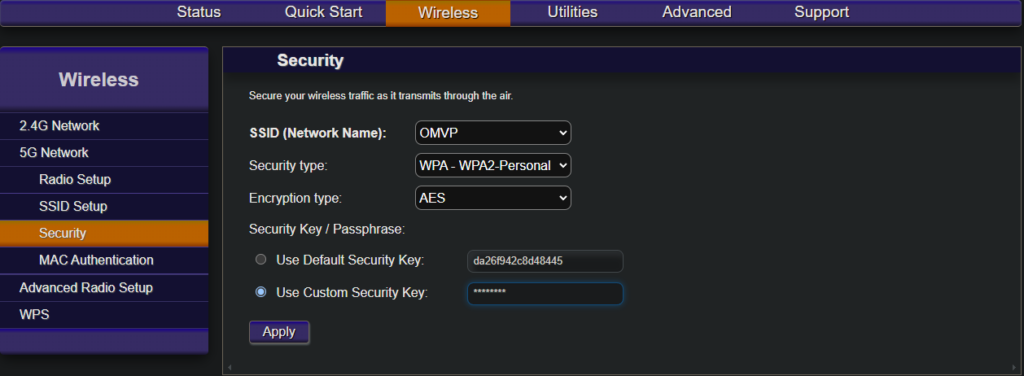
In the “Wireless” configuration page you can edit the wifi’s password in the “Security” section. If the password isn’t sophisticated enough it can get flagged as “insecure” in apple devices.
Utilities
Remote Reboot

In the “Utilities” section you can find the “Reboot” page. Here you can remotely reboot the router.
Ping Test
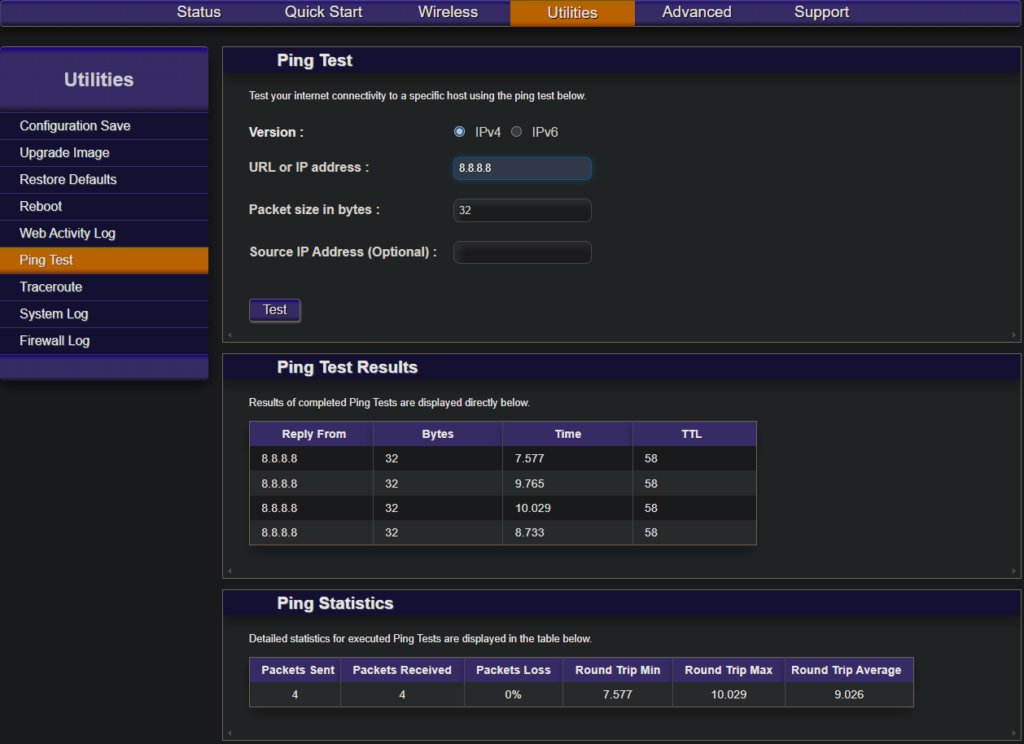
In the “Utilities” section you can find the “Ping Test” page. Here you can run ping tests to test latency as well as connectivity to specific websites.
Traceroute Test
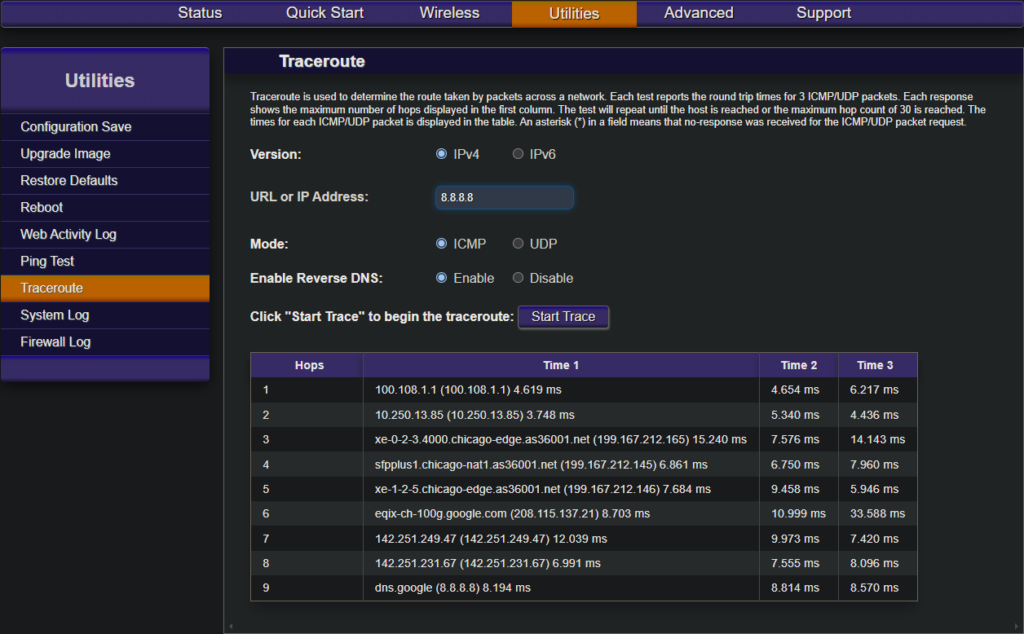
In the “Utilities” section you can find the “Traceroute” page. Here you can run a traceroute test to test the pathing a connection makes.
Advanced
DHCP Reservation
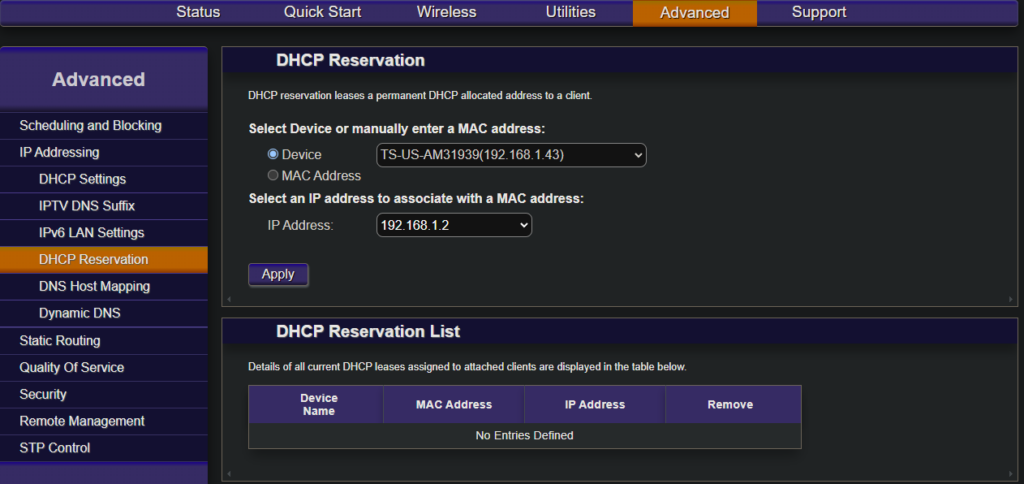
In the “Advanced” section you can find the “DHCP Reservation” page by hovering over “IP Addressing” and selecting “DHCP Reservation”. To configure DHCP reservation you must first select a device entry from the dropdown or specify its MAC address manually. Then you must select an IP address to reserve for that device.
Port Forwarding
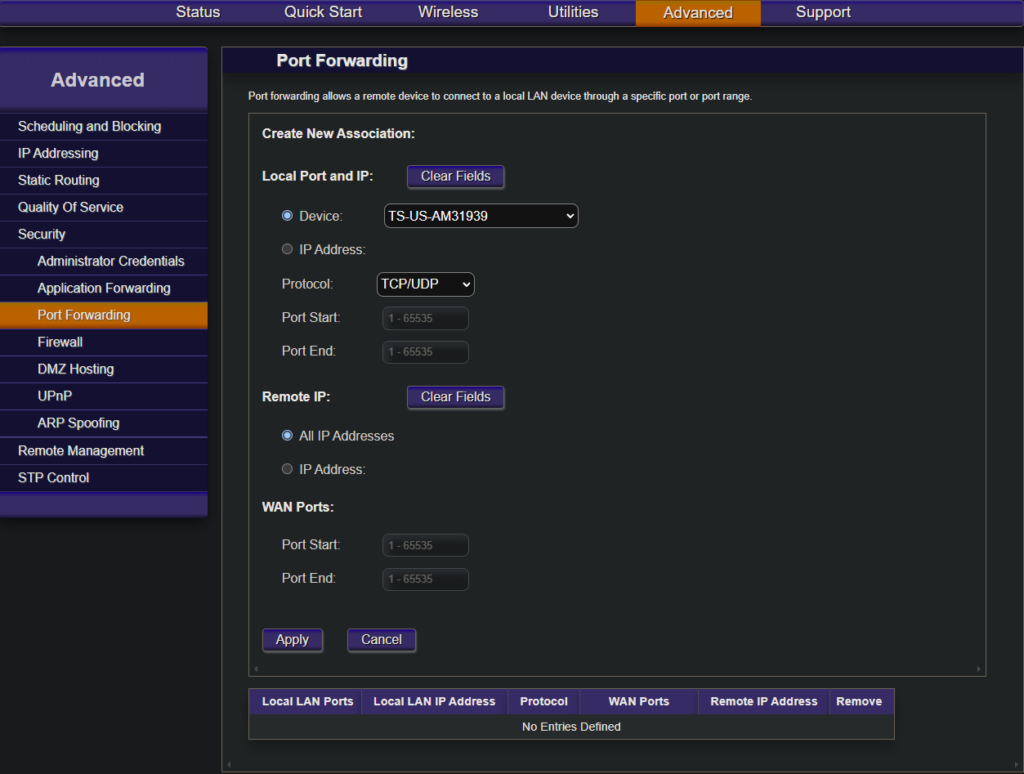
In the “Advanced” section you can find the “Port Forwarding” page by hovering over “Security” and selecting “Port Forwarding”. To configure port forwarding you must first select a device entry from the dropdown or specify its IP address manually. Then you must provide a range of ports as well as which protocol.
Support
Wifi Analyzer
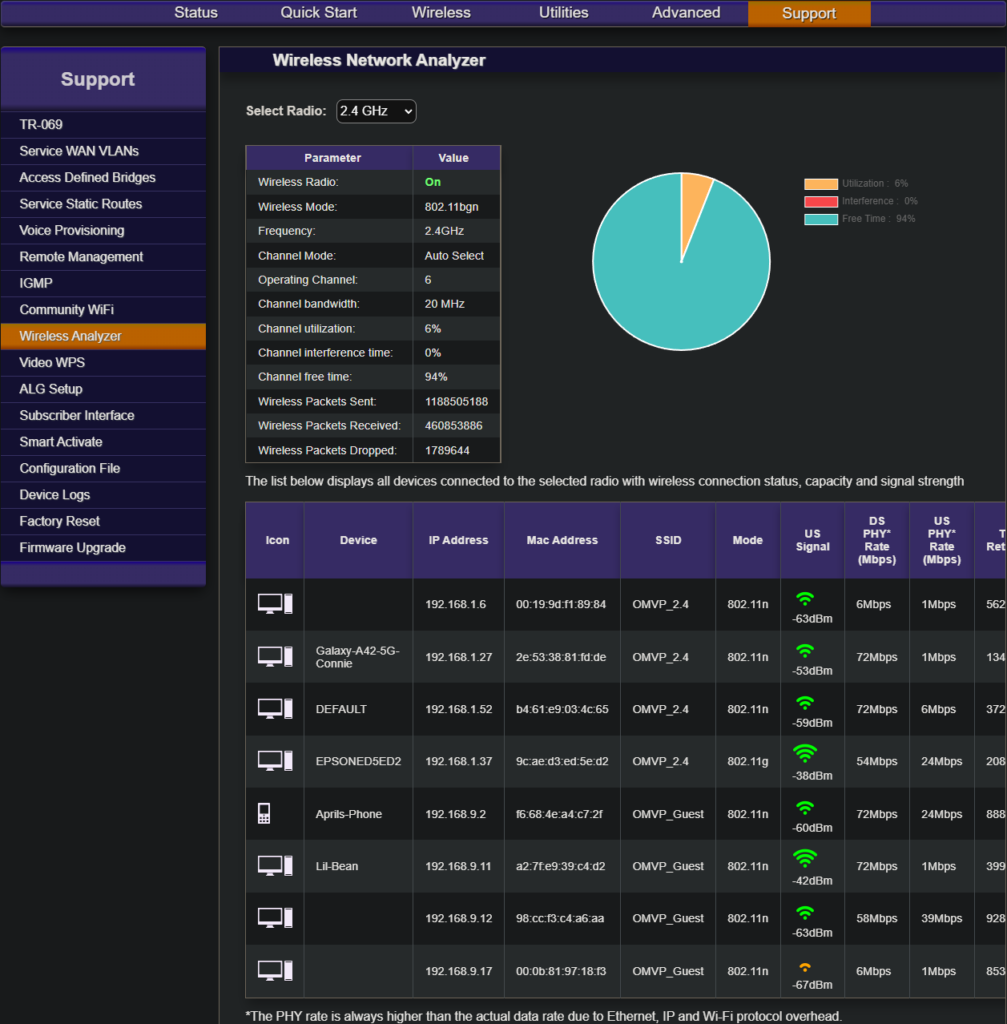
In the “Support” section you can find the “Wireless Analyzer” page. Here you can view wifi statistics, interference, device capacities, and device usage.
Static IP
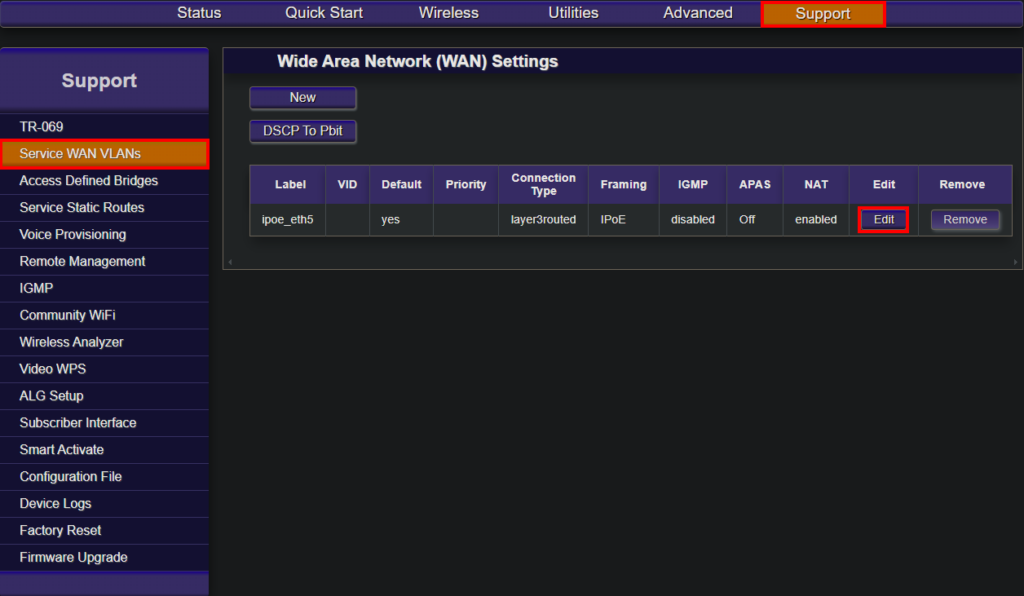
In the “Support” section you can find the “Service WAN VLANs” page. Once here click “Edit”.

After clicking “Edit” it should open up the configuration page. Once here toggle from “DHCP” to “Static IP” and “Auto” to “Static”. Proceed with entering their static IP, and DNS settings.