Optic Loop Fiber NID
Login
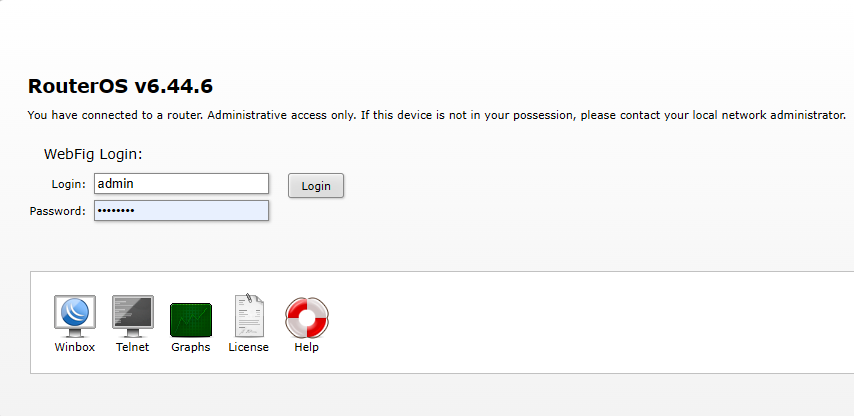
Login with credentials: admin kara!@@% ( hold shift 1225)
Navigate To Settings
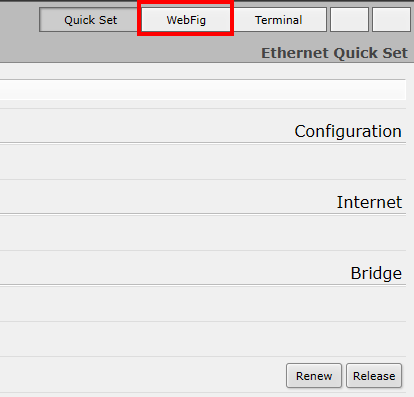
To access the settings of an hEX S NID, navigate from the “Quick Set” webpage to “Webfig” at the top right of the webpage.
Checking Ethernet Statistics
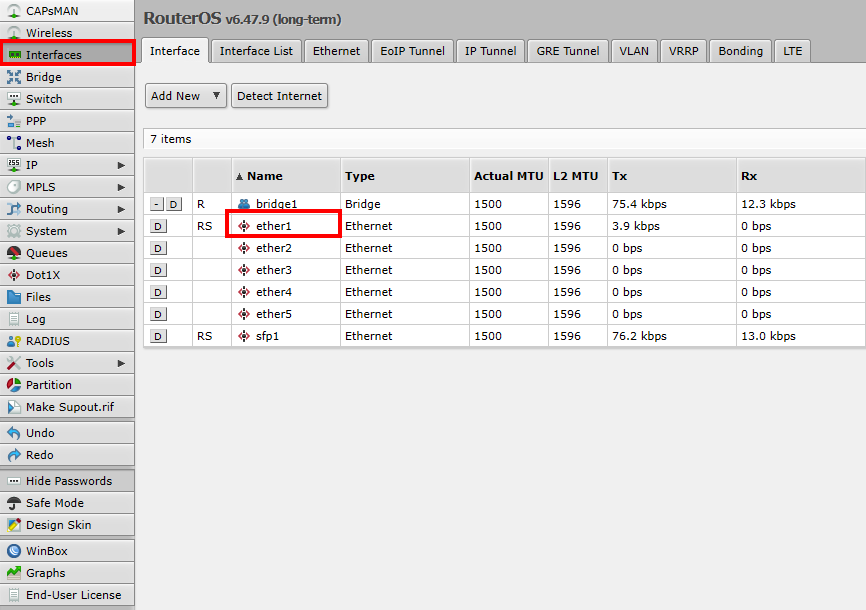
Once on the “Webfig” page, click “Interfaces” and then on “ether1”.

Scroll down and check for incrementing Rx or Tx errors. A high quantity of errors since device boot or errors actively increasing is an indication of a cabling issue.
Verify the customer router is connected at “1Gbps” and that they don’t have any “Link Downs”.
The customer having less than a “1Gbps” ethernet rate or having incrementing “Link Downs” is an indication of a cabling issue.
Checking SFP Statistics

Once on the “Webfig” page, click “Interfaces” and then on “sfp1”.
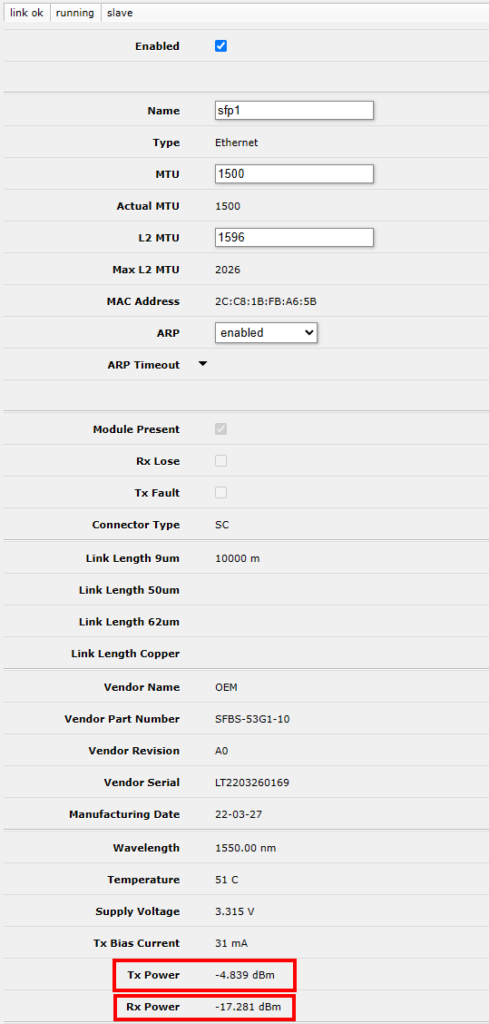
Verify the Tx and Rx power levels. Levels between -5 dBm and -13 dBm are to be expected. Power levels should also be somewhat symmetrical between Tx and Rx. If this isn’t the case, it indicates a possible issue with their fiber connection.

Scroll down and check for incrementing Rx or Tx errors. A high quantity of errors since device boot or errors actively increasing is an indication of a fiber cabling issue.
Verify the customer is connected at “1Gbps” and that they don’t have any “Link Downs”.
The customer having less than a “1Gbps” connection rate or having increasing “Link Downs” is an indication of a cabling issue.
Getting The Customer’s MAC

On the left-hand side navigate to the “Bridge” tab and then on the top of the page click the “Hosts” tab.

Click on “On Interface” to sort the list. The MAC for the customer’s device will typically be connected on “ether1”.
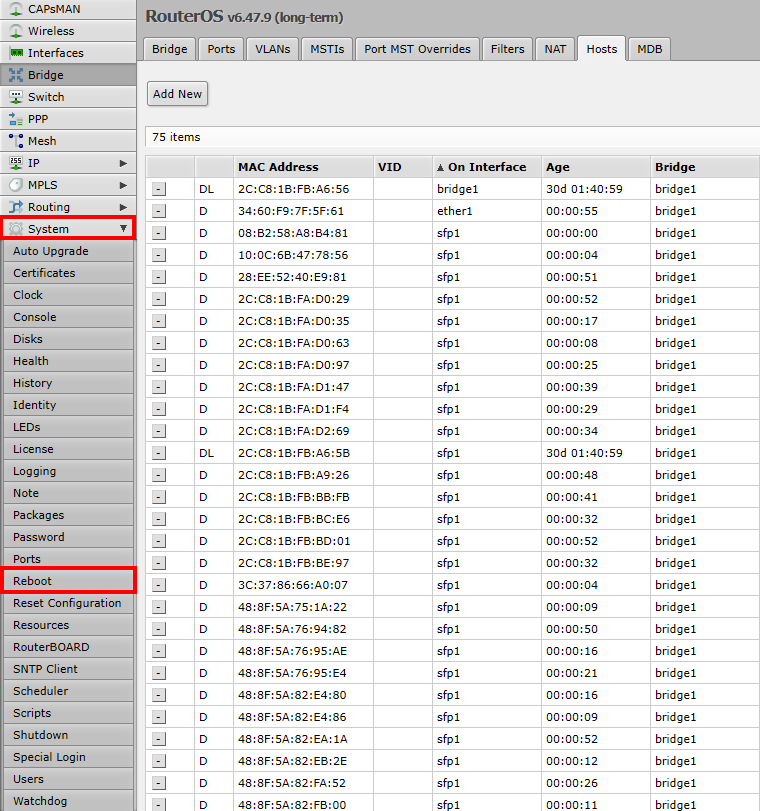
When adding equipment, it is recommended to reboot the NID if the customers device is struggling to pulling an IP address.
System Clock
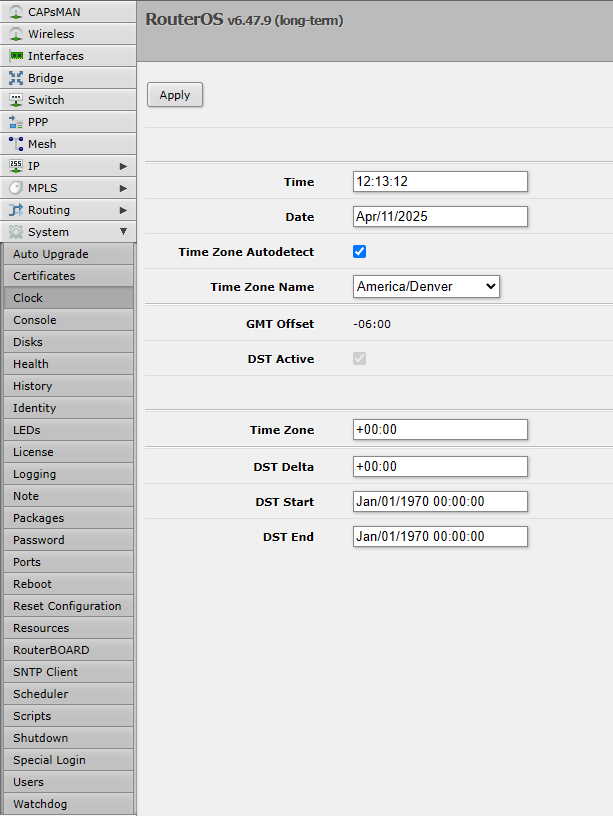
Verify the system time for the NID. This will aid in the accuracy of troubleshooting if the customer is having repeat issues. Keep in mind, OpticLoop operates in mountain time, so they will be an hour behind the other companies. Updating the system time will update timestamps across the device.
NID Probes
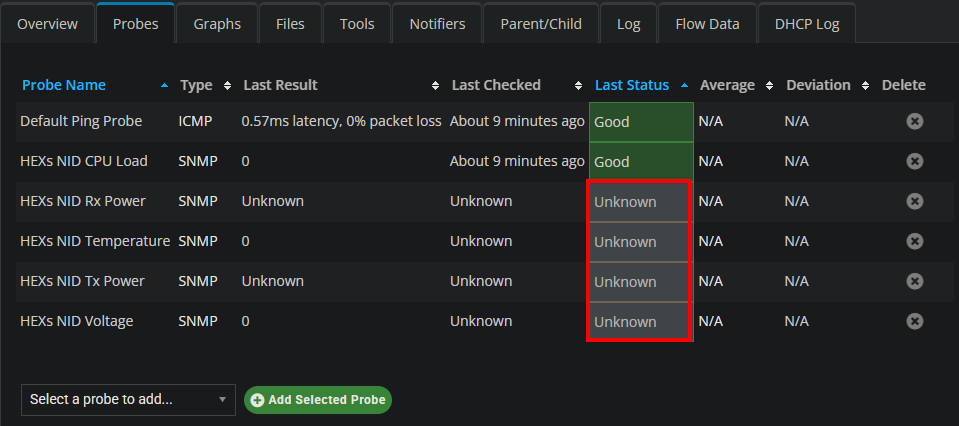
It is beneficial to have historical data regarding the customer’s equipment. If a device’s probes aren’t working, it’s most likely due to a misconfiguration of SNMP.

Edit the device entry in PowerCode and verify the SNMP string is set to “OpticLoopNID” and the SNMP Version is set to Version 2c.
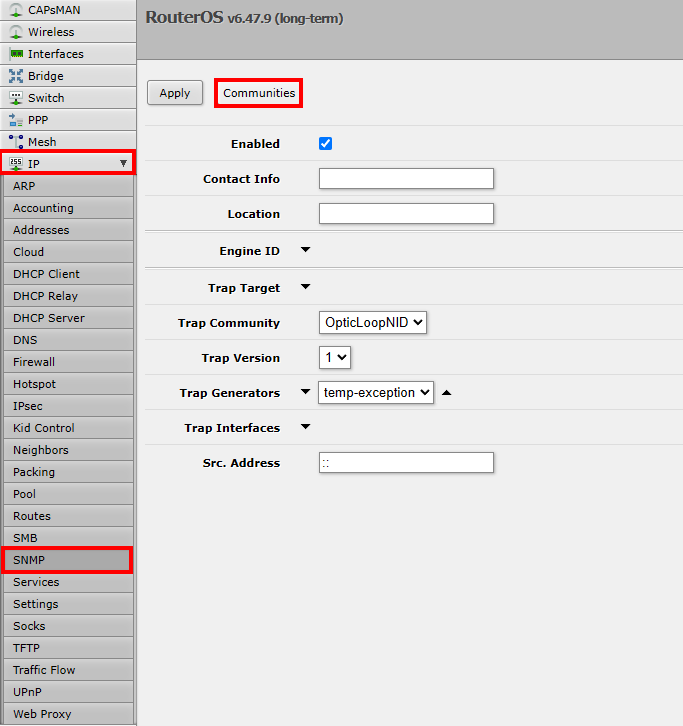
In the NID, navigate to “IP” and then “SNMP”. The “Trap Community” should be set to “OpticLoopNID”. If it is not set to that, then we need to add a new community by clicking “Communities” at the top of the page.
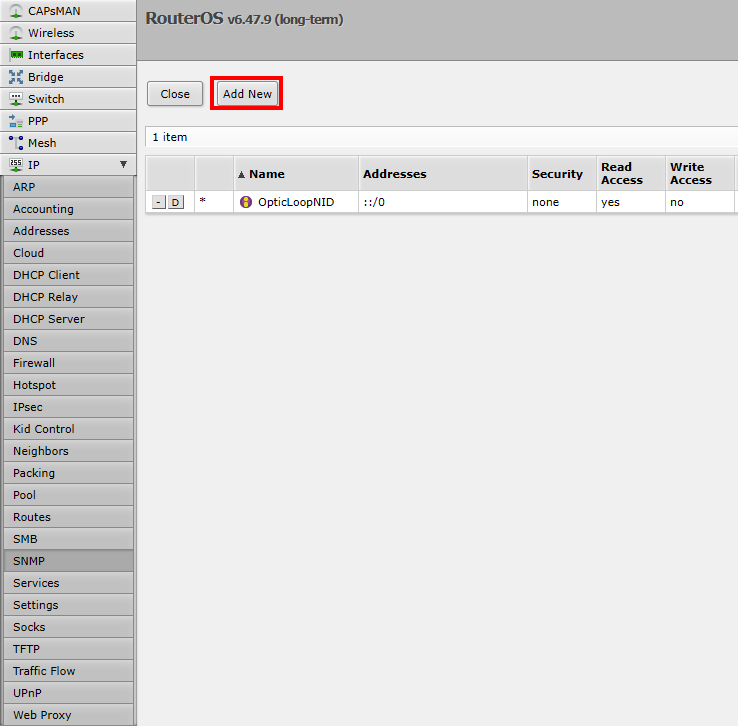
Click on “Add New” to open the page to configure the community.
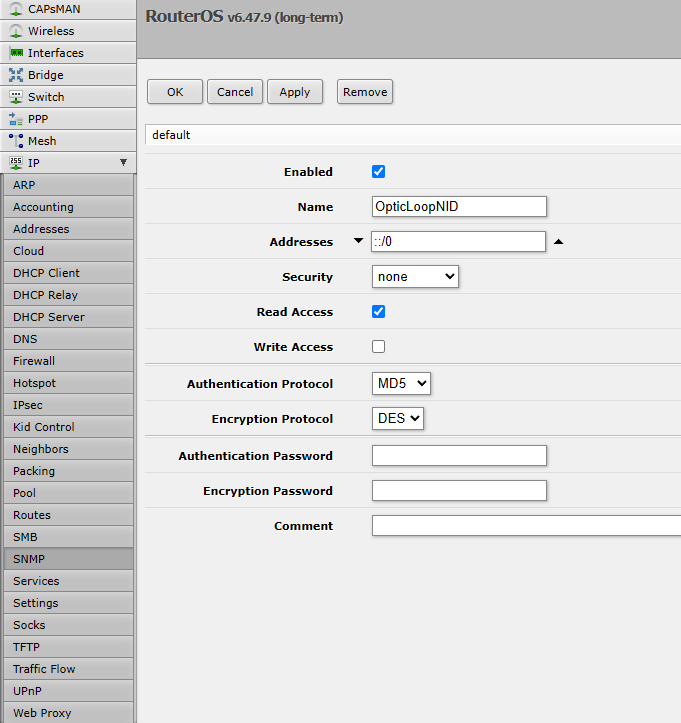
Configure the community to match the settings provided. The name is case specific, so make sure it is exactly “OpticLoopNID”. Make sure to go back and apply the new community in the previous steps.